by Megan | Apr 27, 2026 | AAC, aided language input, aided language stimulation, blog, book recommendations, books, continuing education, core vocabulary, emergent literacy, fringe vocabulary, modeling, tips, training, Uncategorized
Shared Reading at Home: Simple Ways Parents Can Support AAC Without Pressure
Parenting can be exhausting. There is so much to do, and it often feels like time is running faster and faster each day. As a parent of an AAC user, this feeling may be amplified as you have even more on your plate. Between therapy, school, and daily life, “Shared Reading” can feel like just another chore on a long to-do list. Instead of adding more to your already overflowing plate, I want to reassure you that shared reading can easily fit into your daily routines, just as they are. Your home doesn’t have to look like a classroom; shared reading can be anywhere, from the backyard to the bathroom. Remember, the goal of shared reading is connection, not perfection. It doesn’t have to be a 20-minute session; it can be 2 minutes.
Reading in the “In-Between” Moments
Shared reading doesn’t only happen at a desk or a dedicated “circle time.” When we remember that the goal of shared reading is the connection between us and the learner, instead of the location or what it “looks” like, we can see that there are many different opportunities to engage in shared reading throughout the day and in various routines. Some actionable routine ideas that can be implemented into your already established routines include:
- Bath Time: Using waterproof books and modeling “wash,” “bubbles,” or “all clean.”
- Snack Time: Reading a cereal box or a simple book while eating.
- Bedtime: The traditional time, but keeping it low-pressure—focusing on cuddles and one or two core words like “sleep” or “turn.”
Don’t forget all the reading that can happen naturally while you are outside the home as well. Letters and words are everywhere, you can read:
- Labels at the grocery store
- Signs on a walk
- Logos of our favorite restaurants or places to go
Literacy is all around us, all the time!
Make Literacy Available, Not Mandatory
Have you ever been somewhere and find yourself picking up an item (or book), just because it is there and available? When we make books a part of the environment, something that is there “just because”, it helps make reading feel less forced and more natural. Children are more apt to initiate interactions with books if there is not a “demand” or “request” to use them. Leave some books out in various places, the car, by the toy bin, in a basket in the living room, at the kitchen table, even in the bathroom. I think you’ll be surprised how often you see your child gravitating towards the books, just because they can.
While we are talking about low demands surrounding reading, don’t feel pressure to read the whole book. It is perfectly ok for a child to read only one or two pages before moving onto the next, flips through the book quickly seemingly not reading, and/or move around the room while listening to you read. All of this counts as reading and should be celebrated!
Modeling Without Expectation
Now that we have access to books throughout the day and know that we are focusing on connection and embedding literacy into daily routines. Let’s talk about how to bring the AAC into this literacy party! I promise this one is easy and low demand too!
As a parent, your job is to show your child how they could use their AAC during shared reading, not to test. If you are not sure what to model, choose one word on the AAC device that matches something from the text or the illustrations on a page. Rest assured any word you pick is wonderful – there is no right or wrong word or words to model. After you model that word, wait for a moment, or don’t and keep reading. If your child doesn’t respond, that’s okay! They are engaged and connecting with you. They may still be “soaking it all in” and listening and not ready to respond yet. Don’t worry, the more they engage in shared reading, the more they will start to use their AAC too. Your model is the gift; their response is the bonus.
The Home Routine Planner
Need more ideas? Here are some specific examples of routines you can add a book to this week and core words that you could model during that routine:
Breakfast (or any meal time)
- Read: The Very Hungry Caterpillar
- Model: “eat”, “hungry”, “more”
Bathroom
- Model: “go”, “help” “all done” or “finished”, “on”, “off”
Play time
- Read: books about topics they enjoy – literally any book will work here
- Model: “turn”, “more”, “like”, “don’t like”, “again”, “look”
Car rides
- Read: Go Dog Go, Little Blue Truck series, Construction Site series
- Model: “go”, “fast”, “slow”, “turn”, “like”, “stop”
Bath time
- Read: Five Little Monkeys Jump in the Bath, waterproof books work great here too!
- Model: “in”, “on”, “off”, “like”, “more”, “out”
Bed time
- Read: books about topics the enjoy – literally any book will work her
- Model: “turn”, “more”, “like”, “don’t like”, “again”, “look”
Remember, you don’t have to do all of this at once, you can take it one routine at at time. And if modleing on the AAC in the routines seems overwhelming, know that you can stick to the “one word” rule: pick one core word for any routine and stick with it for the week. By the end of the week I can guarantee you that you will feel more comfortable modeling that word while reading and incorporating the AAC into shared reading overall!
If you’d like to learn more about shared reading and AAC users, my e-book, Shared Reading with AAC users, gives tangible examples and ideas on how can get started with shared reading with your AAC user.
Before you go, share in the comments: “What is the most ‘unusual’ place your child has ever asked you to read a book?”
by Megan | Apr 20, 2026 | AAC, aided language input, aided language stimulation, blog, book recommendations, books, continuing education, core vocabulary, emergent literacy, fringe vocabulary, modeling, Sensory, Sensory extension activities, tips, training
When “Just Reading” Isn’t Enough
You picked the book, prepped the materials and set up the environment and feel ready to start shared reading with your AAC user. But, when you get started, the learner keeps moving around, wants to stay on the same page, flip through pages quickly and closes the book again and again.
Before you take this as a sign that the learner is “checked out”, not interested or that you need to revamp your entire lesson, take a moment to reflect and think about why they are doing those things. I can guarantee you that they are not doing those things to make the shared reading experience more difficult. They are showing you what they need in order to keep their body calm and regulated and allow themselves to focus on the AAC device and/or story.
When we provide sensory supports for the learner during the shared reading experience, we not only help learners stay calm and regulated, we provide anchors that keep them present in the experience.
Proprioceptive & Vestibular Input (Moving while Reading)
For some learners, movement is a prerequisite for attention—they literally need to move their bodies to process what they hear. If your learner struggles to sit still, try these shifts:
- Adaptive Seating: Offer a bean bag, wiggle cushion, stool, or even a swing during storytime.
- Action Modeling: Incorporate movement into the story itself (e.g., “The bear is jumping! Let’s jump!”).
- Change of Scenery: Move to different parts of the room for different chapters or pages.
Remember: Just because a learner is moving doesn’t mean they aren’t listening. For many, the movement is exactly what allows them to stay tuned in.
Tactile Anchors (The “Touch-and-Feel” Beyond the Book)
Other learners may need or prefer additional tactile stimulation to get and keep them engaged during shared reading. Giving hands something to do often gives the brain more space to focus on language. Here are some ideas to increased tactile input during shared reading:
- Story Bins: Create “literacy kits” with items representing the story, like soft fur for a bear or a small cup for tea time.
- Themed Fidgets: Provide fidgets that match the book’s theme to keep the learner’s tactile system engaged with the topic.
Sensory Minimalism: Reducing the Noise
While we are thinking about the different things we might need to add to help make shared reading more sensory friendly, there are also some things we might need to decrease. While some learners might seek out visual and auditory input, too much of this type of input can also be overwhelming for some. Knowing our learners and their sensory preferences, allows us to reduce the “sensory noise” so that the AAC voice and the book can be the stars. Here are some actionable ideas you can use to help decrease the auditory and visual distractions:
- Lighting: Use a reading lamp instead of harsh overhead lights.
- Auditory: Minimizing background noise
- Visual: Using a dedicated “reading rug” to define the space.
The “Low-Tech” Sensory Kit
Before you start thinking that you need to go out and buy a bunch of new things to revamp your room, area, etc. take a look around your home or classroom, you probably have a lot of items you can use to support sensory needs during shared reading.
-
- Comfort: Pillows, blankets, cushions
- Movement: rocking chairs, wiggle seats, trampoline, swing
- Tactile: Various textures and/or items that the learner can feel and interact with while reading – bonus if they are related to items within the story.
- Tactile: Preferred fidget items
- Movement: Different areas that you can move to throughout the reading if needed or a specific place that is your “reading area’.
- Lighting: dimmable lights or light from lamps instead of overhead lights
- Auditory: quiet space, headphones
The possibilities are endless!
Once you get started seeing things from a “sensory lens” you will come up with many more ideas that are personalized to your learner than I can list here. You are the expert on your learner. These tools simply help their environment match their needs.
If you are interested in learning even more about sensory supports and how they can make shared reading accessible and engaging and want to see some examples of sensory based literacy kits you can check them out in my store.
Before you go
Share with us in the comments: “What is your learner’s favorite sensory support during storytime?”
by Megan | Apr 13, 2026 | AAC, aided language input, aided language stimulation, blog, book recommendations, books, continuing education, core vocabulary, emergent literacy, fringe vocabulary, modeling, Sensory, tips, training, Uncategorized
The “Perfect Book” Trap
If you’ve ever found yourself looking at a bookshelf filled to the brim, feeling overwhelmed and wondering “Is this one right for shared reading with my AAC user?”, you are not alone.
Since “AAC friendly” isn’t a category that books are organized into, at the library or bookstore, we need to shift our way of thinking when browsing. Choosing a book isn’t about it being “AAC friendly”, it’s about it being engaging, interesting and fun for both you and the AAC user.
My goal for this post is to simplify the process of choosing a book to read with your AAC user and reassure you that there is no “perfect book”. Once you realize that, you can spend less time searching for books and more time reading them. Here are the three pillars I use to find books that naturally invite communication.
1. High Predictability
One of the first things I look for is how much predictability is built into the story. Predictability reduces the “work” a learner has to do to follow the story, which leaves more room in their brain to think about what they want to communicate.
This predictability usually looks like repetitive lines or a rhyme and rhythm that creates a natural pause for the AAC user to chime in. Think of classics like:
- “But the bear snores on…”
- “But he was still hungry.”
- “There was an old lady…”
- “Chicka Chicka Boom Boom”
Pro Tip: If you find a book you love that isn’t predictable, you can make it predictable. Simply choose a repeated comment, request, protest or sound effect to say on every single page. Suddenly, any book becomes accessible!
2. Core Word Capacity (Moving Beyond Nouns)
A common mistake is picking books just for labeling (like “dog,” “cat,” or “truck”). While nouns are great, Core Words (verbs and descriptors) are the words that give a learner power across their whole day.
I look for “Action-Heavy” or “Emotion-Heavy” books. For example:
- Go/Stop: Great for any book about transportation or animals moving.
- In/On/Under: Perfect for lift-the-flap books or “hide and seek” stories.
- Like/Don’t Like: Excellent for stories about picky eaters or characters with strong opinions.
Modeling “go” or “scared” gives your learner a word they can use in a hundred other situations outside of this specific book.
3. Visual Clarity & Sensory Considerations
Finally, consider the visual and sensory “load” of the book. This is highly personalized. Some readers may prefer real photographs, while others find very busy, detailed illustrations distracting.
The Sensory Anchor: If a book has different textures or interactive elements, it is almost always a “sure thing” for me. These elements act as an “
My “Three-Question” Quick Filter
Next time you are at the library or bookstore, use these three questions to find your next great read:
- Does it have a repeating phrase (or can I create one)?
- Can I model at least 3 core words easily and repeatedly?
- Is the topic actually interesting to the learner? (This is the most important rule!)
DOWNLOAD THE QUICK-FILTER CHEAT SHEET HERE
Start browsing confidently!
You are ready to start checking out books with confidence, knowing that engagement matters far more than “perfection.”
If you want to dive even deeper into the “how-to” of shared reading, my e-book, Shared Reading with AAC Users: A Neurodiversity-Affirming Guide, walks you through everything from setup to tracking progress.
One more thing before you go… share in the comments: What is the one book your learner requests over and over?
by Megan | Apr 6, 2026 | AAC, blog, book recommendations, core vocabulary, emergent literacy, fringe vocabulary, modeling, tips, training, Uncategorized
One of the questions I hear all the time
“But what am I supposed to model?”
This is one of the most common questions I hear when I share about shared reading, and it makes sense. As professionals, parents, and caregivers of AAC users, we want to be doing what feels helpful, meaningful and supportive.
There are a lot of different words you could model during shared reading with AAC users, and that can definitely feel overwhelming. The good news is: you don’t need to model everything, and there are no perfect words you have to choose in order for shared reading to be meaningful.
You do not need to model everything
When you think about shared reading, you may immediately think about reading the text on the page. However, if you have read my previous posts about what shared reading is, and how to start shared reading, you know that shared reading can look a lot of different ways.
Shared reading is not about covering all the text in the book or modeling every word. In fact, you do not even have to model words directly from the text. You can model words that describe the pictures, words that connect to something the learner notices, or a word or two you chose ahead of time that you can naturally repeat throughout the reading.
Remember that connection is the goal during every shared reading opportunity, so if modeling words feels overwhelming and starts to take away from the connection, it is ok to scale back the amount and variety of words you are modeling.
Start with a few core words
If you are just getting started with shared reading or reading a book that is less familiar to you, it might be helpful to read through the book ahead of time and jot down a few possible words on sticky notes. You can place the sticky notes right on the pages, so the words will be there when you are ready to read.
To keep things simple, focus on just a few core words.
While there are no “right” or “wrong” words to model, these are words I have found myself using across many different books:
- look
- turn
- more
- again
- go
- like
- stop
- big
- little
- funny
Starting with core vocabulary can be especially helpful because these words are flexible and naturally show up across routines, conversations, and books. That makes them easier to model consistently.
I also love modeling core vocabulary during shared reading because the words do not stay stuck inside the book. They can carry over into the child’s day, helping build connections between the story and real life.
You can also model fringe words that matter
While core vocabulary might be the go-to vocabulary to model during shared reading, don’t forget about fringe vocabulary.
Story-specific words and themes absolutely have a place in shared reading, especially when they connect to what catches the learner’s attention. That might include:
- animal names
- food
- characters
- actions from the story
- favorite objects or themes
Core words may show up more often, but fringe words can sometimes be the thing that helps build excitement and buy-in. If a fringe word is meaningful, interesting, or motivating, it is absolutely worth modeling.
Model comments more than questions
If you read my previous post about starting shared reading with AAC users, you know that shared reading is NOT about performance and is not a test.
It can be easy to default to questions such as:
- What is that?
- What color is it?
- What is he doing?
- Can you point to…?
But one powerful shift is to model comments more often than questions.
Some examples of comments you can model during shared reading include:
- I like that.
- That’s funny!
- Uh oh!
- Look!
- Let’s turn the page.
- Wow!
- There he goes.
- I see it.
Comments are a great way to draw attention to the illustrations, the action, and the emotional moments in a book. They often feel more natural, and they help build interest and connection without putting pressure on the learner to respond in a certain way.
Model feelings, actions, and surprises
Books are full of feelings, actions, reactions, surprises, and opinions. That is part of what makes them such a natural space for communication.
These kinds of words can be great choices to model during shared reading:
- happy
- sad
- funny
- wow
- uh oh
- go
- fall
- open
- like
- don’t like
Modeling these words in the context of a book makes language feel more natural, meaningful, and fun rather than like a drill.
Let the book guide you
By now, hopefully the pressure is starting to come down.
Not only do you not have to model every word in the book, you also do not have to model the exact same words every time. In fact, shared reading often feels more natural when you let the book guide what you model.
Some books lend themselves to movement and action words so you might model more verbs. Some books bring up strong feelings, so you may model emotion words. Other books naturally invite commenting, predicting, or repetitive modeling.
Whatever book you are reading, think about a few core and fringe words you might want to use, but do not feel like you have to stick to those alone. Trust your instincts and model what feels natural in the moment. That is often where the best connection happens.
Keep it natural
Nothing disrupts connection during shared reading faster than making it feel like a task that has to be completed.
We want shared reading to feel inviting and enjoyable so that learners will want to return to it again and again.
As you plan for shared reading, keep these ideas in mind:
- Model naturally, not constantly
- You do not have to model on every page
- The goal is connection and access
- Repeated, meaningful models matter more than frequency alone
- Follow the child’s interest when possible
And remember: there is no one way shared reading should look. There can be lots of movement, only a little reading, repetitive reading of favorite pages, or lots of page flipping. It all still counts.
You’ve got this!
You are ready to start shared reading right where you are.
Keep these ideas in mind:
- Start with a few words.
- Let the book help you.
- Comments count.
- Repeated words are powerful.
- You do not need to do it perfectly for it to be meaningful.
If you want more support in figuring out what to model, how to get started, and how to make shared reading more accessible, I go deeper into all of that in my e-book, Shared Reading with AAC Users: A Neurodiversity-Affirming Guide.

by Megan | Dec 16, 2023 | AAC, aided language input, aided language stimulation, blog, continuing education, core vocabulary, fringe vocabulary, modeling, prompt hierarchy
It’s the busiest time of the year! Wrapping up the year, buying gifts for all you love, finding time to celebrate with all your friends and family, you may feel like you are running around endlessly, the last thing you should have to worry about is making sure you have all of your continuing education units (CEUs) done to renew your licenses and certifications. 🤪
Before you close this window and start running around again, take the time to read to the end of this post, ‘cause I’ve got a way for you to rack up a bunch of CEUs for FREE! **Bonus if you want to learn more about AAC – these CEUs are AAC focused**
Ready to get started? Here we go!

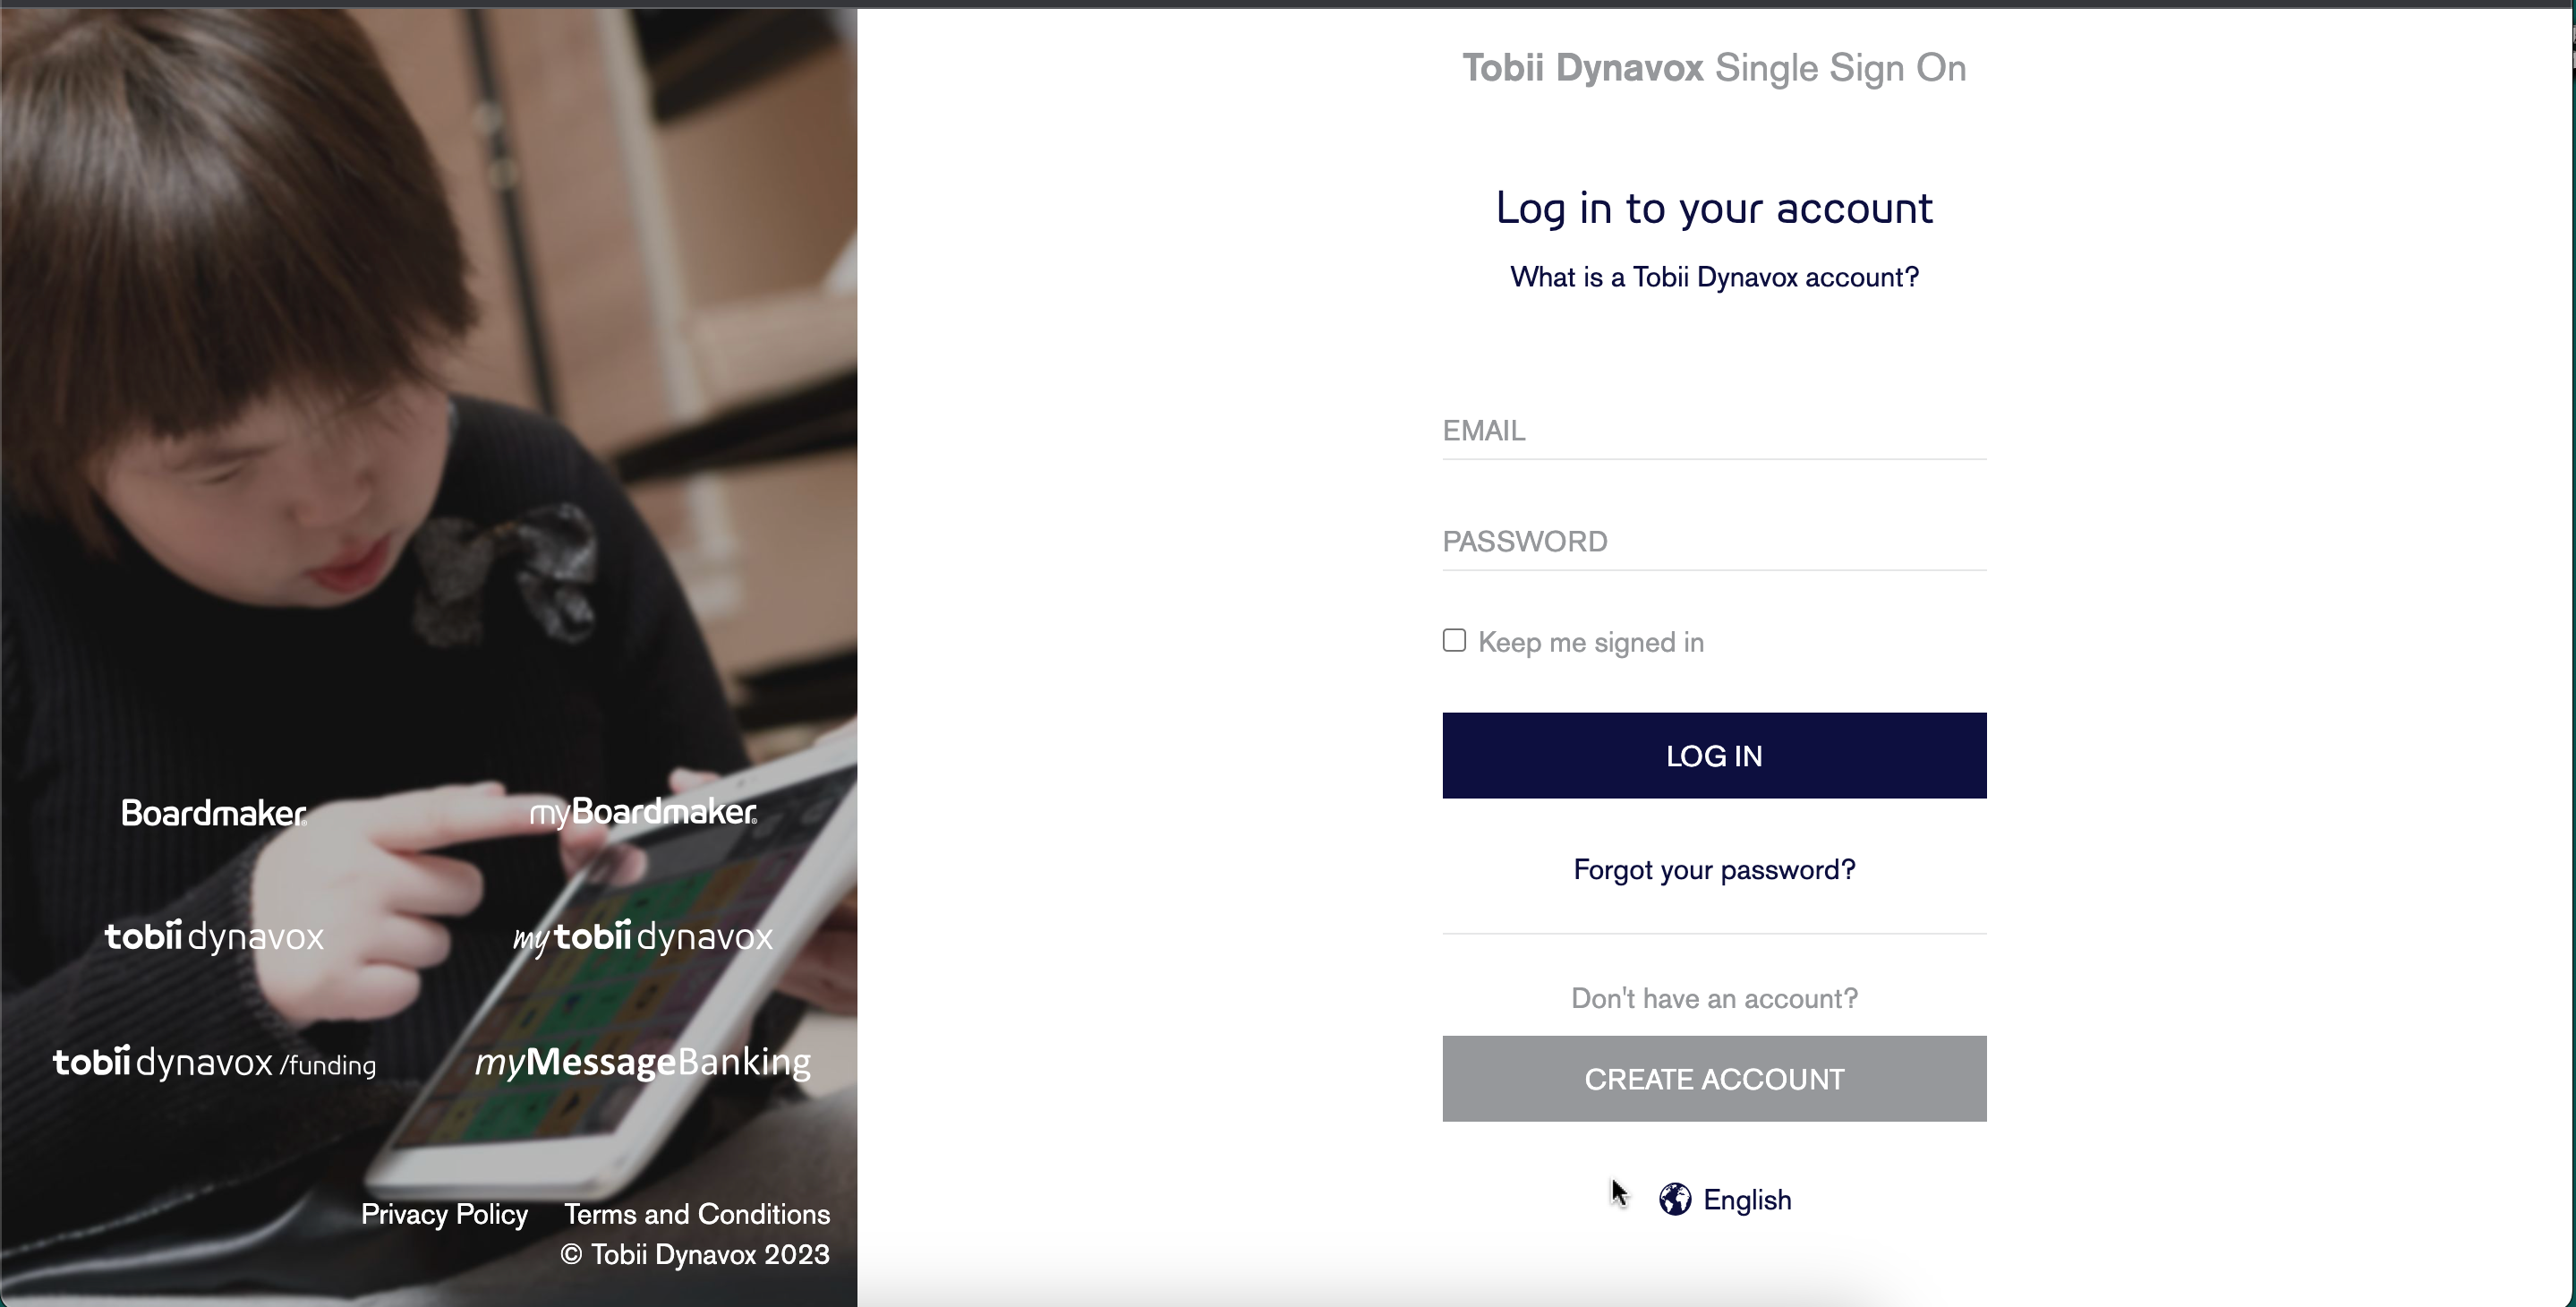
- You will be redirected to a login page where you can create an account or, if you have an account within any Tobii Dynavox or Boardmaker programs, use that account login and password.

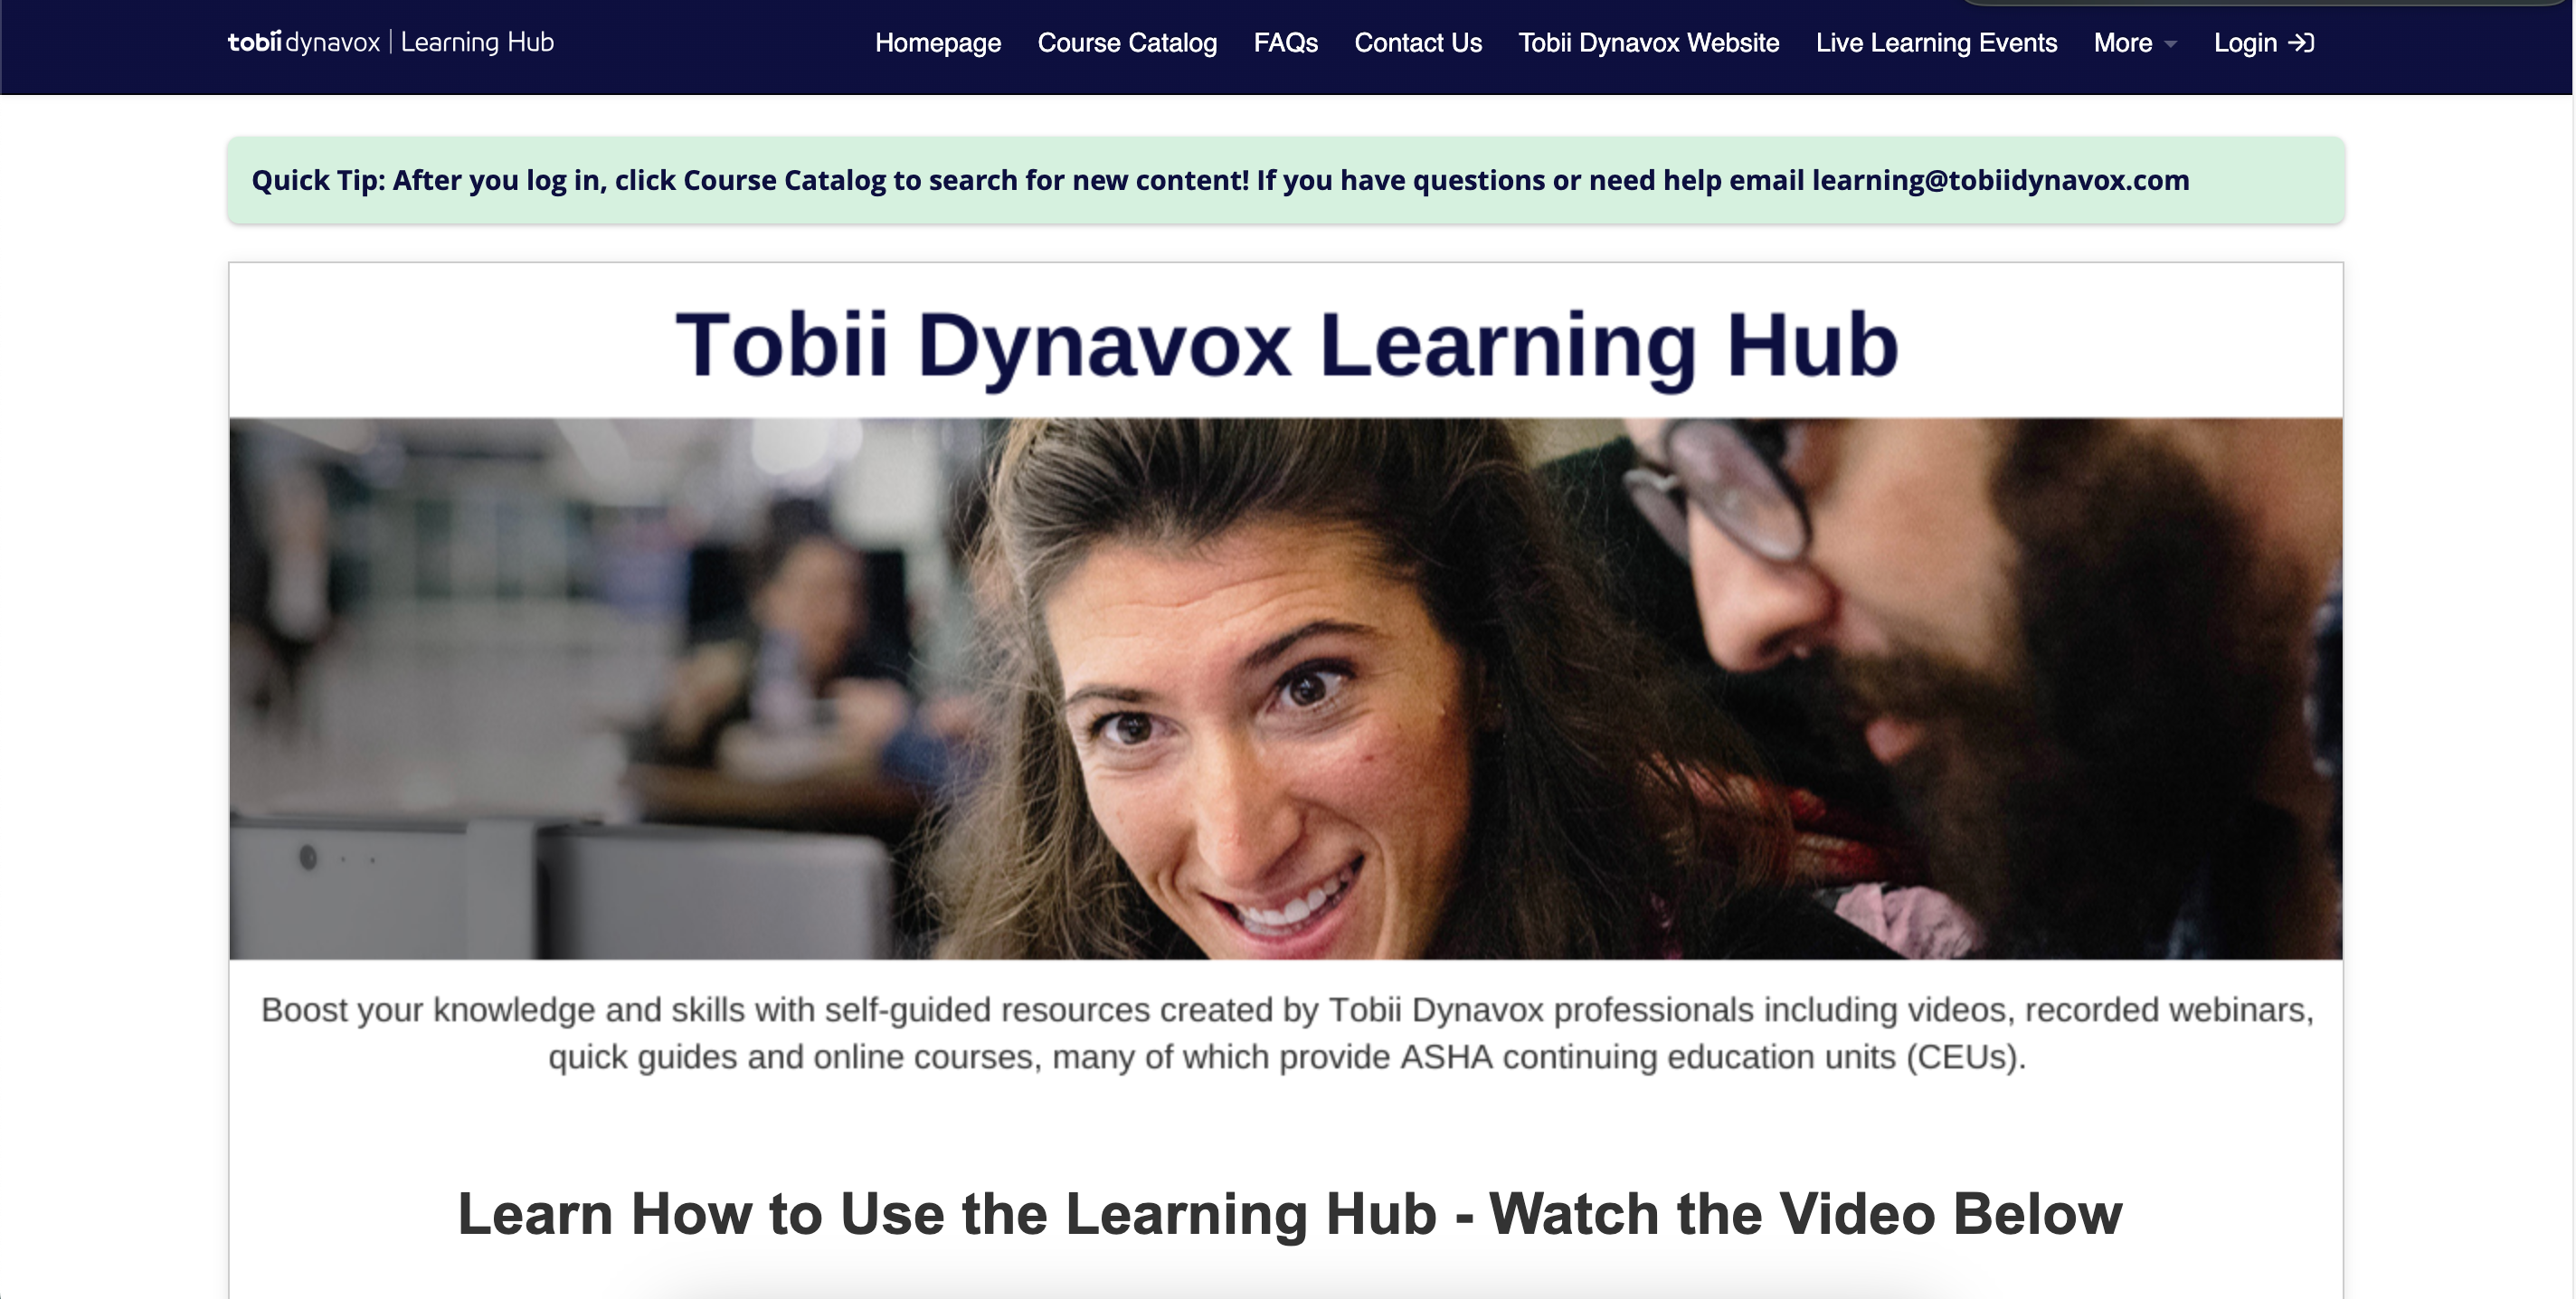
- After you log in you will be redirected to the Learning Hub, where you can start racking up those CEUs! Click on “Course Catalog” to see all the courses offered.

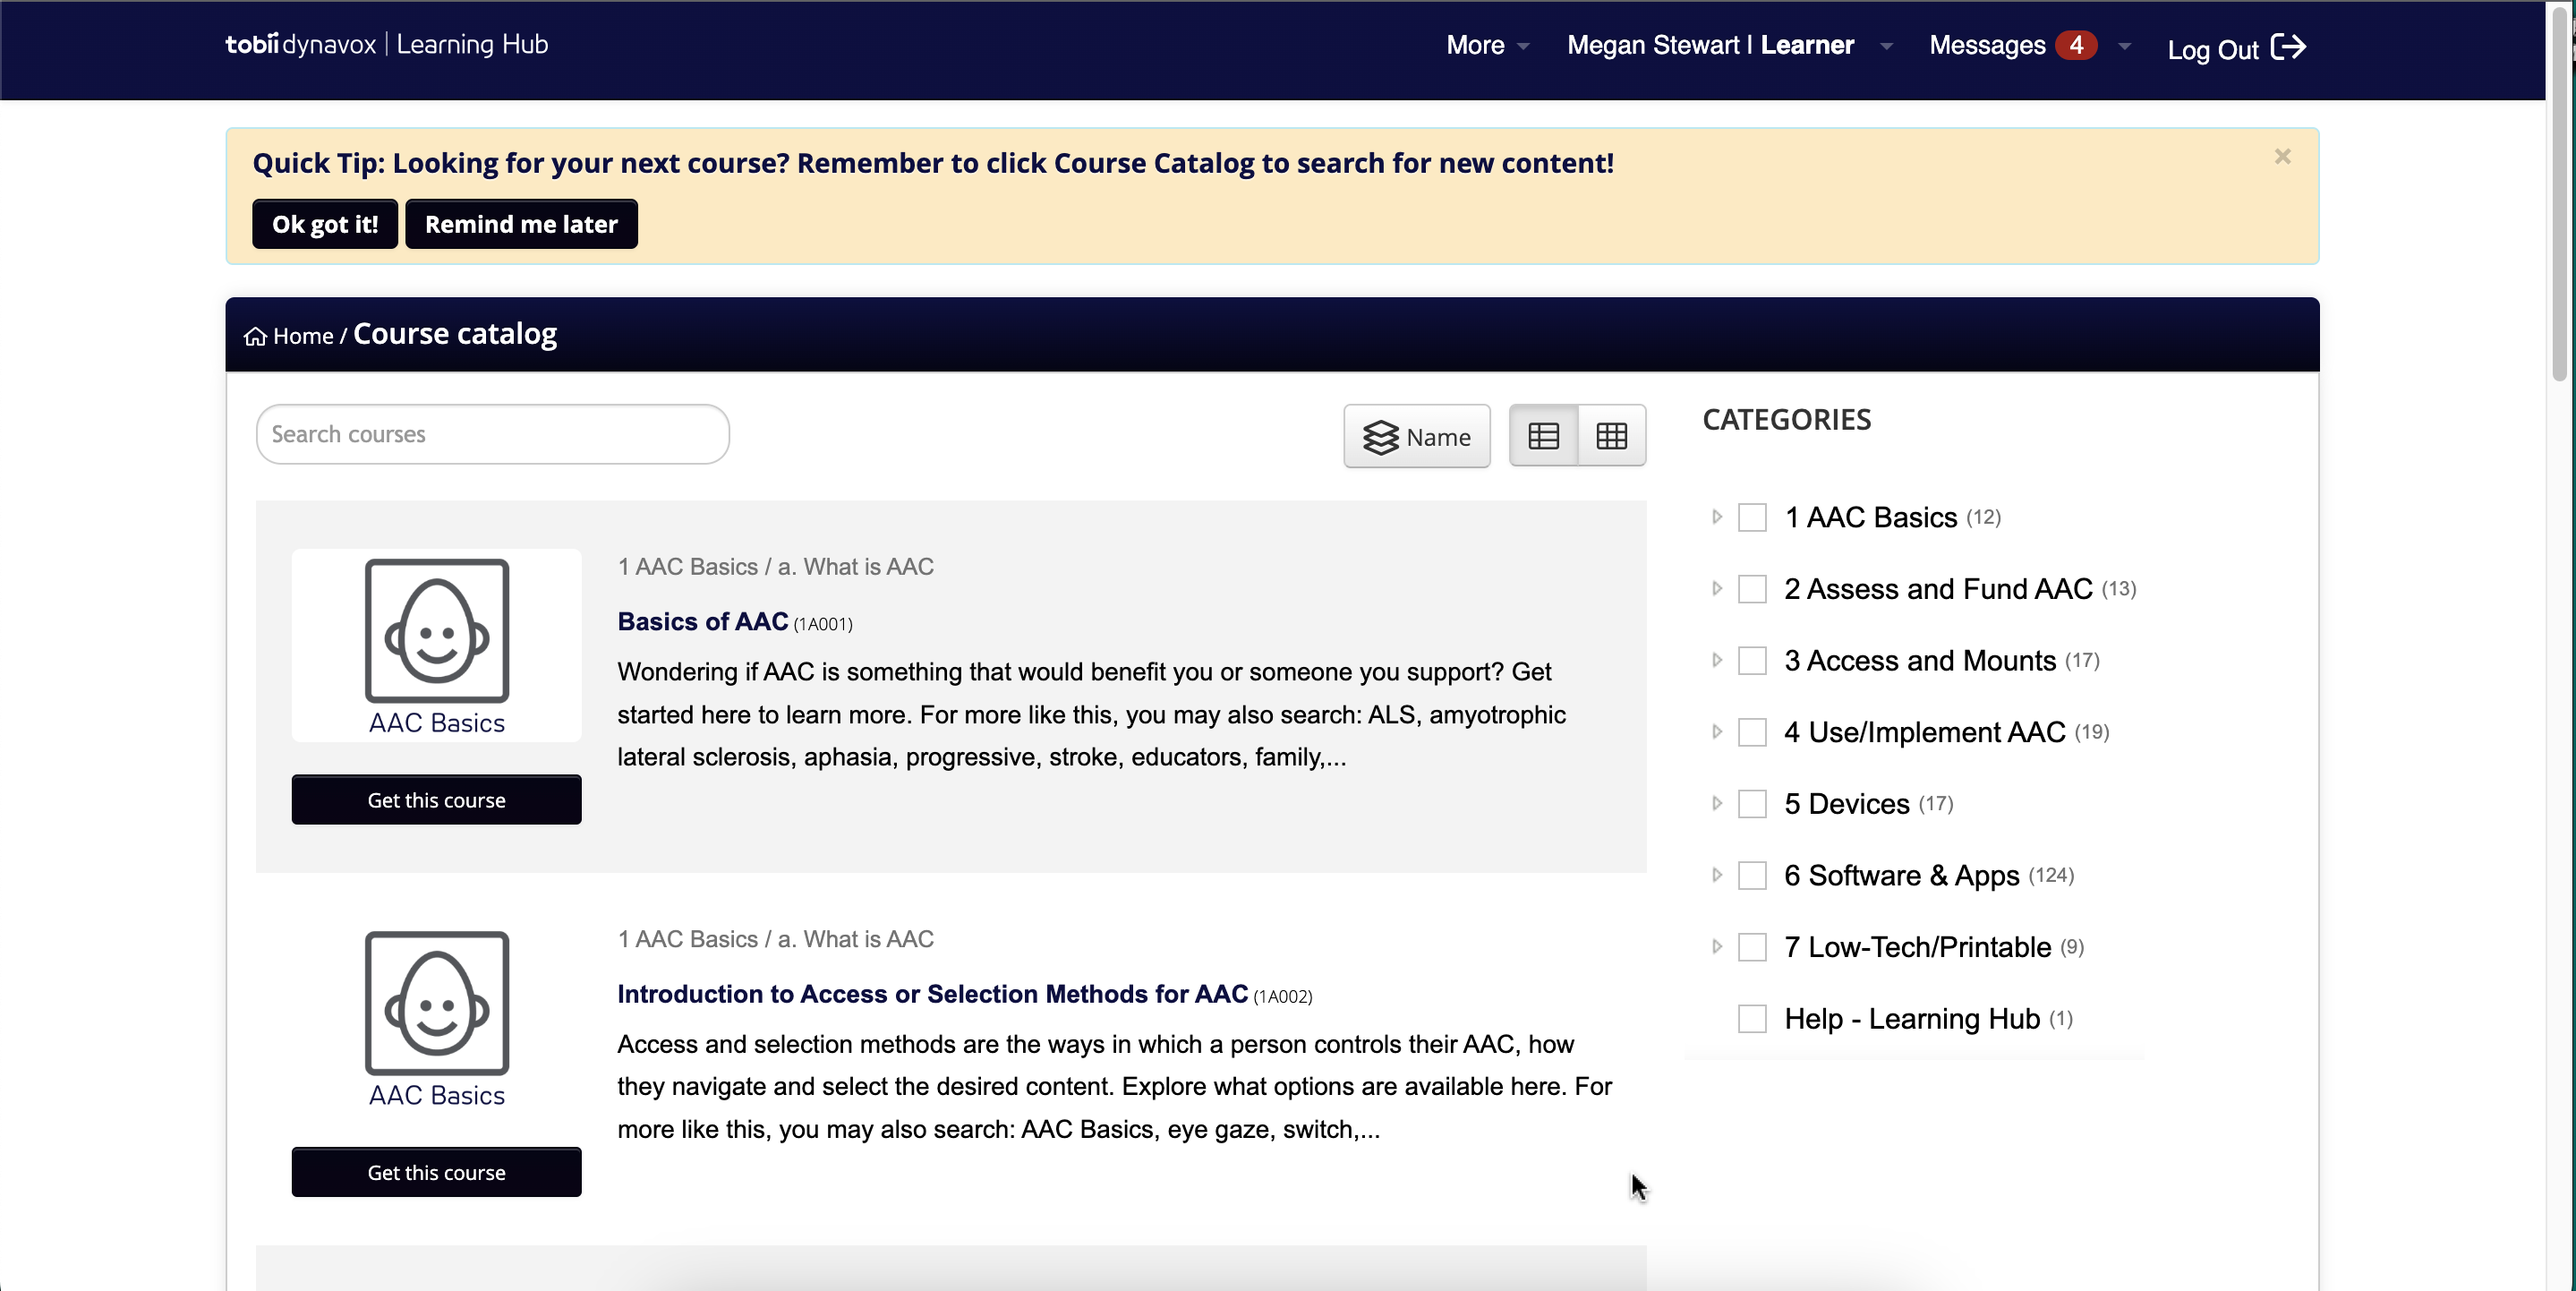
- Once you see the list of courses, you can also open the categories further to see additional specific courses.


That’s it – you are ready to rack up a bunch of free CEUs to finish out your requirements for the end of the year, or whenever you need it!
If you work through any of these courses and find one that you really like, let us know in the comments so we can check it out too!
by Megan | Feb 10, 2021 | AAC, aided language stimulation, core vocabulary, modeling, Sensory, Sensory extension activities, Storybook Sessions
Storybook Sessions: Garrett Morgan
In each Storybook Sessions post, I highlight a book that I have used, or plan to use in therapy as well as associated, extension activities that can be paired with the book to increase vocabulary comprehension, provide opportunities to express yourself verbally, written, creatively, etc., sensory exploration, fine motor practice, gross motor movements, etc. Some extension activities will focus on all of these components while others will focus more specifically on one area.
Garrett Morgan
Author: Megan Stewart
Illustrator: Symbols by Boardmaker 7
Do you ever have an idea for an activity to do, book to read, etc but can’t find exactly what you are looking for? Anyone else, or is it just me?
This happened to me while I was planning for my February sessions. I knew I wanted to highlight a famous black person from history to celebrate Black History Month with my students but while looking for a book to lead my activity/session, I wasn’t able to find what I was looking for. I will say that there are a TON of great kids books featuring and highlighting famous black people, however I waited too long to put these on hold or check out from my library, so I decided to create my own.
My Book Creation Process
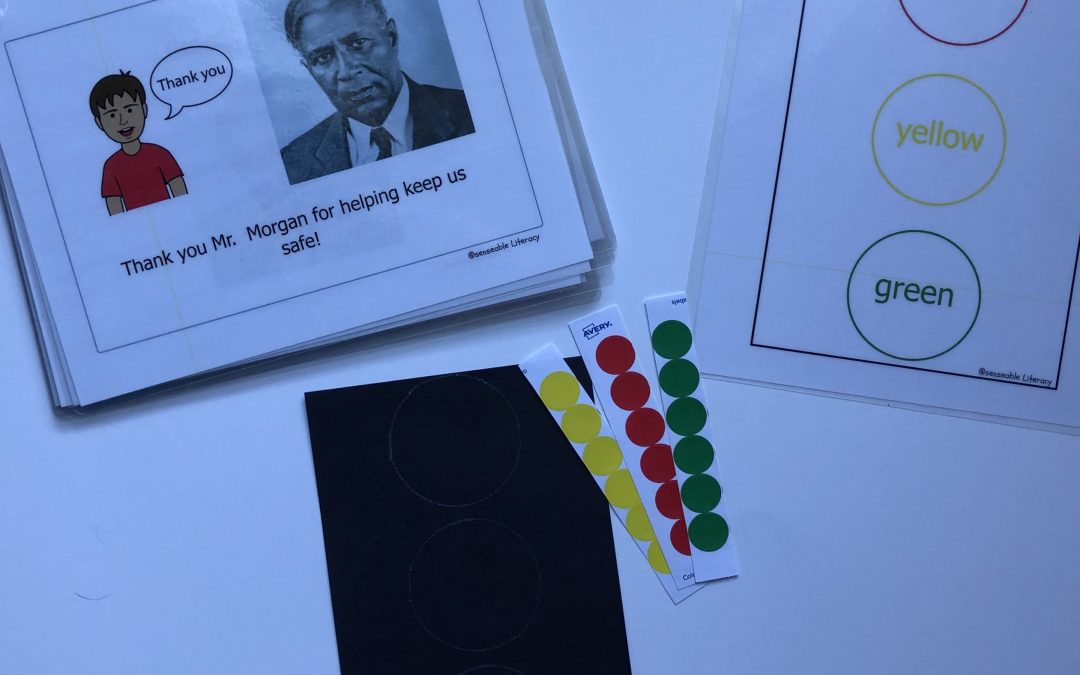
I chose to highlight Garrett Morgan, who added the yellow light to the stoplight as we now know it, within my lesson. With a quick Google search to find a picture of him, and learn a little more about him and his inventions, I took that information, opened Boardmaker 7 software and got to work! Using the printable book template, I was able to easily add in pictures, symbols and text that told the story of who Garrett Morgan was, why we need to learn about him, what his invention was (Mr. Morgan did invent items other than the stoplight, (i.e., the gas mask), but I thought this invention was most appropriate to highlight for my PreK students), and how it has affected our world. Here’s a sneak peek of the book:
Now What?
Now that I had the book, I needed to decide on the extension activities to continue our learning after we read the book. I chose activities that focused on color, shape and number recognition & labeling, spatial concepts, fine motor skills, bi-lateral (both sides) hand coordination, sorting, following directions, and gross motor skills.
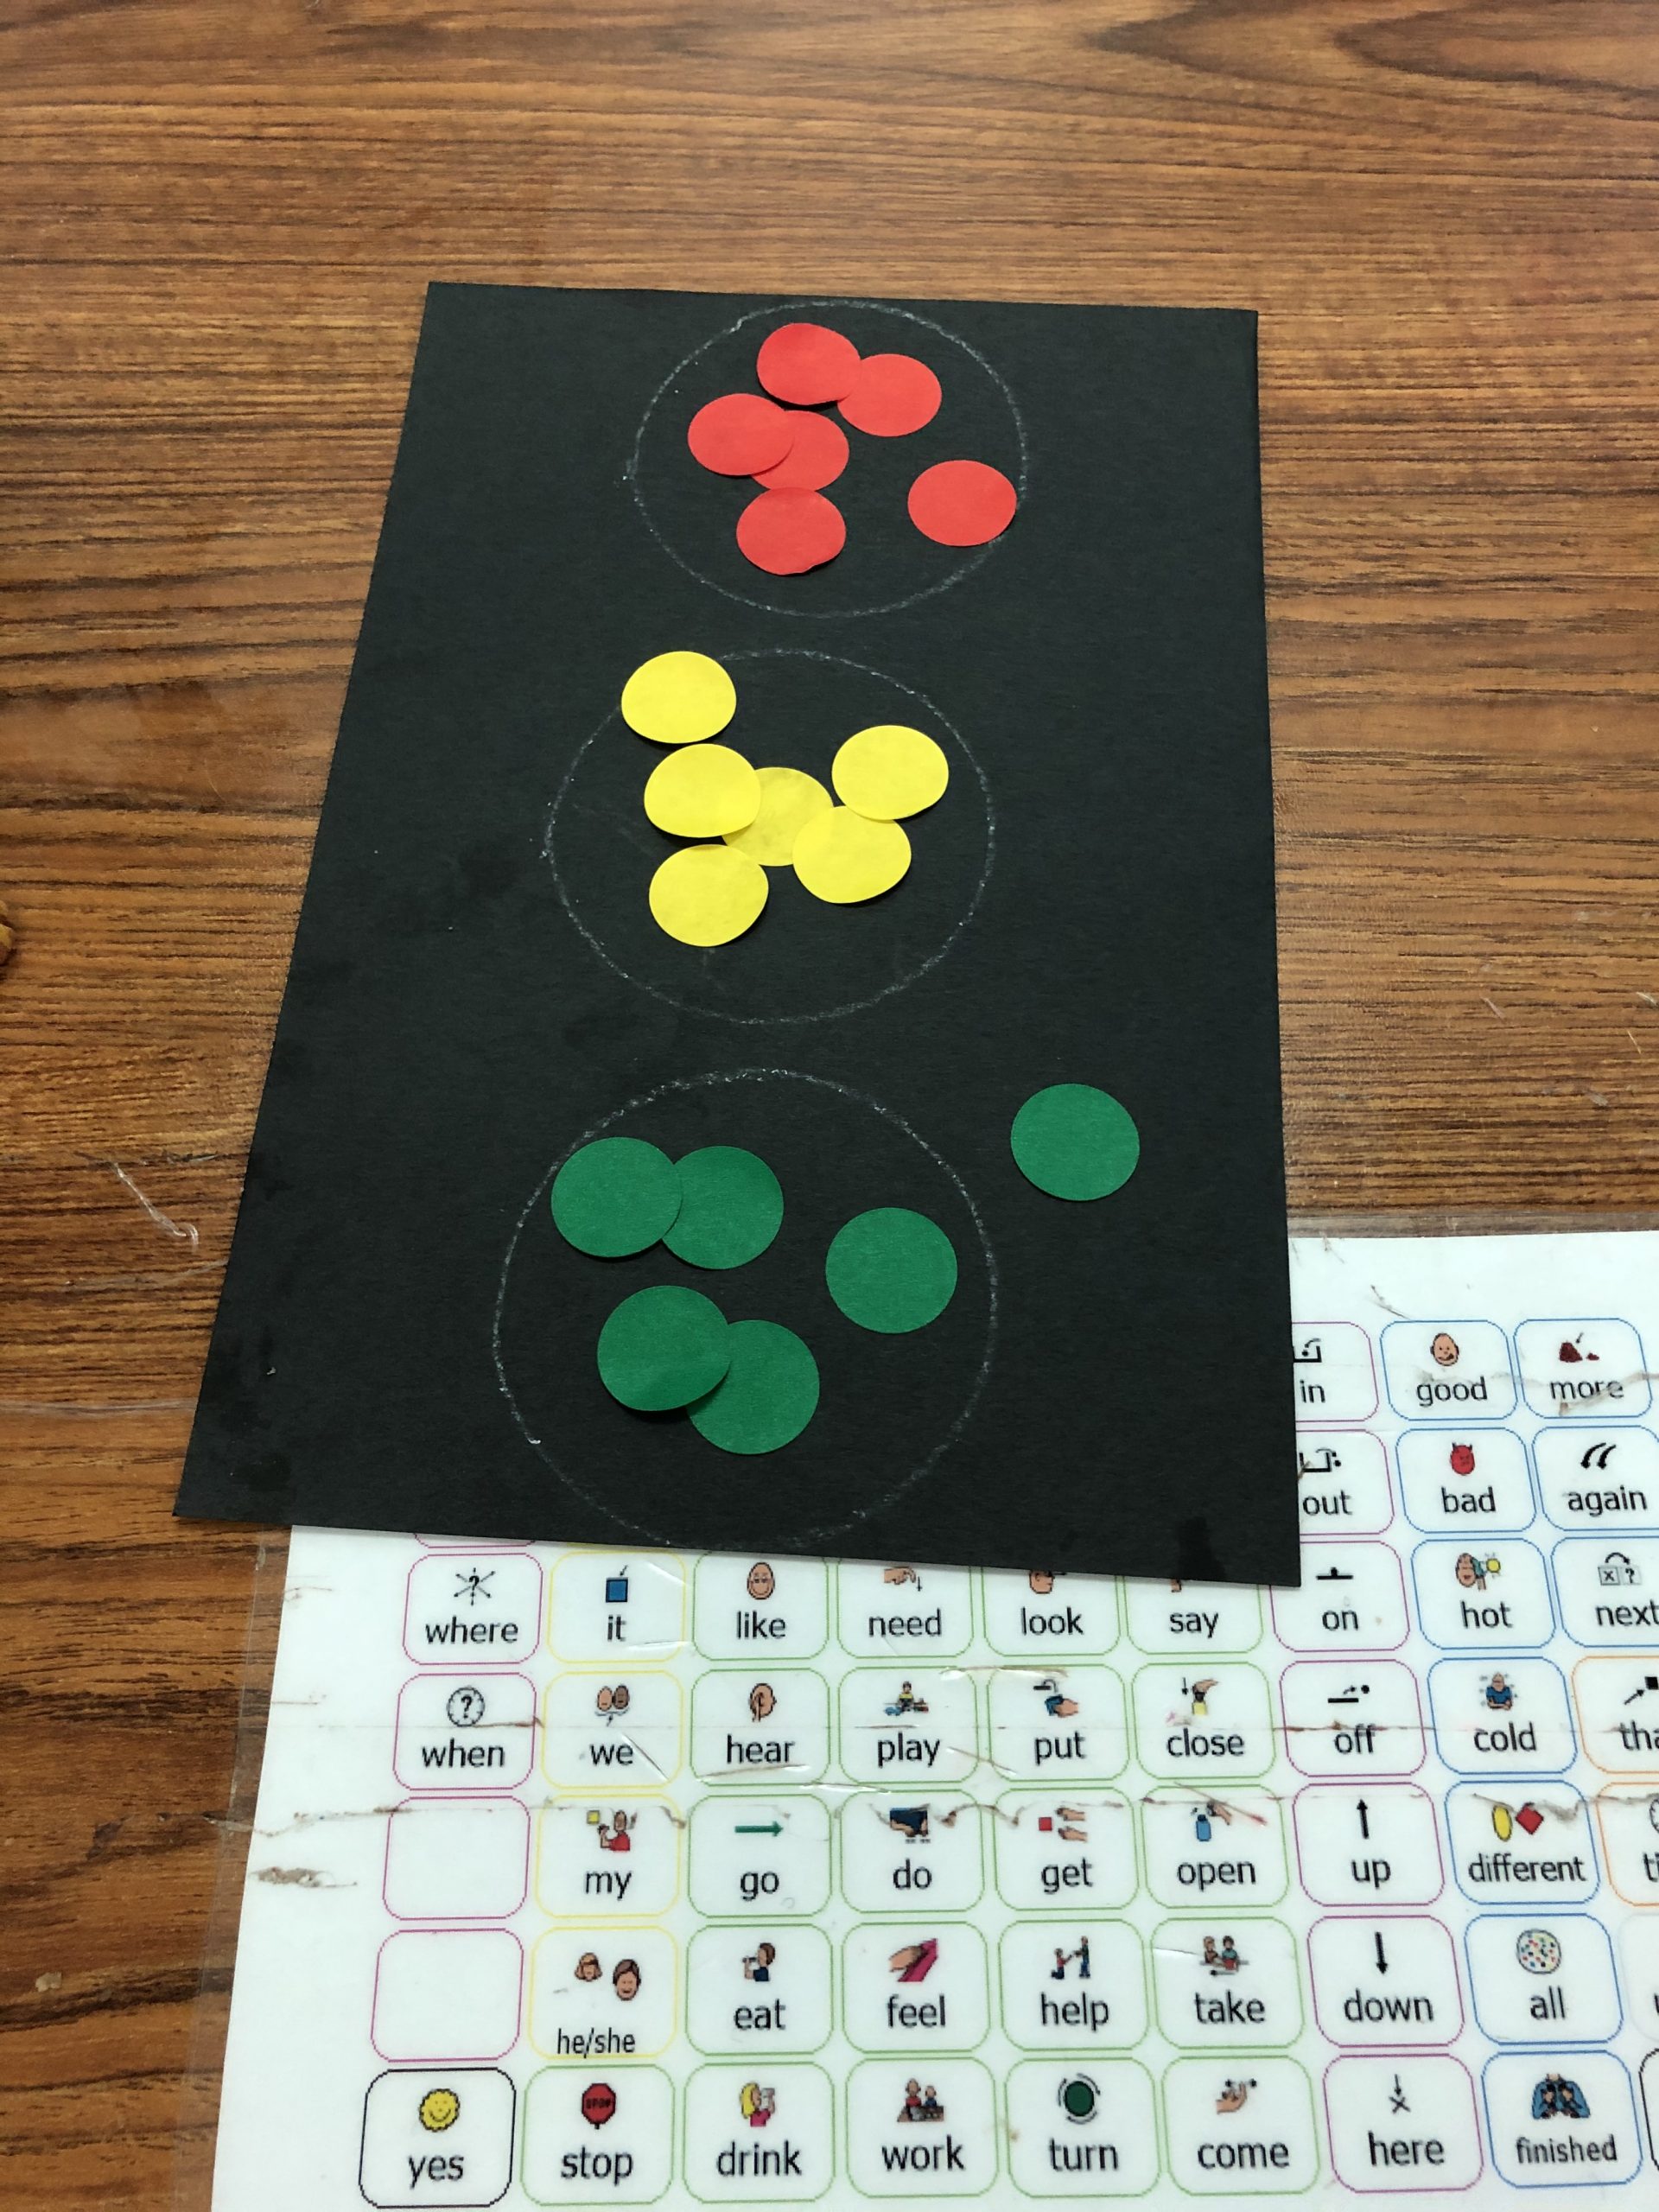
Creating A Personalized Stoplight
In the first activity, the students create their own stoplight.
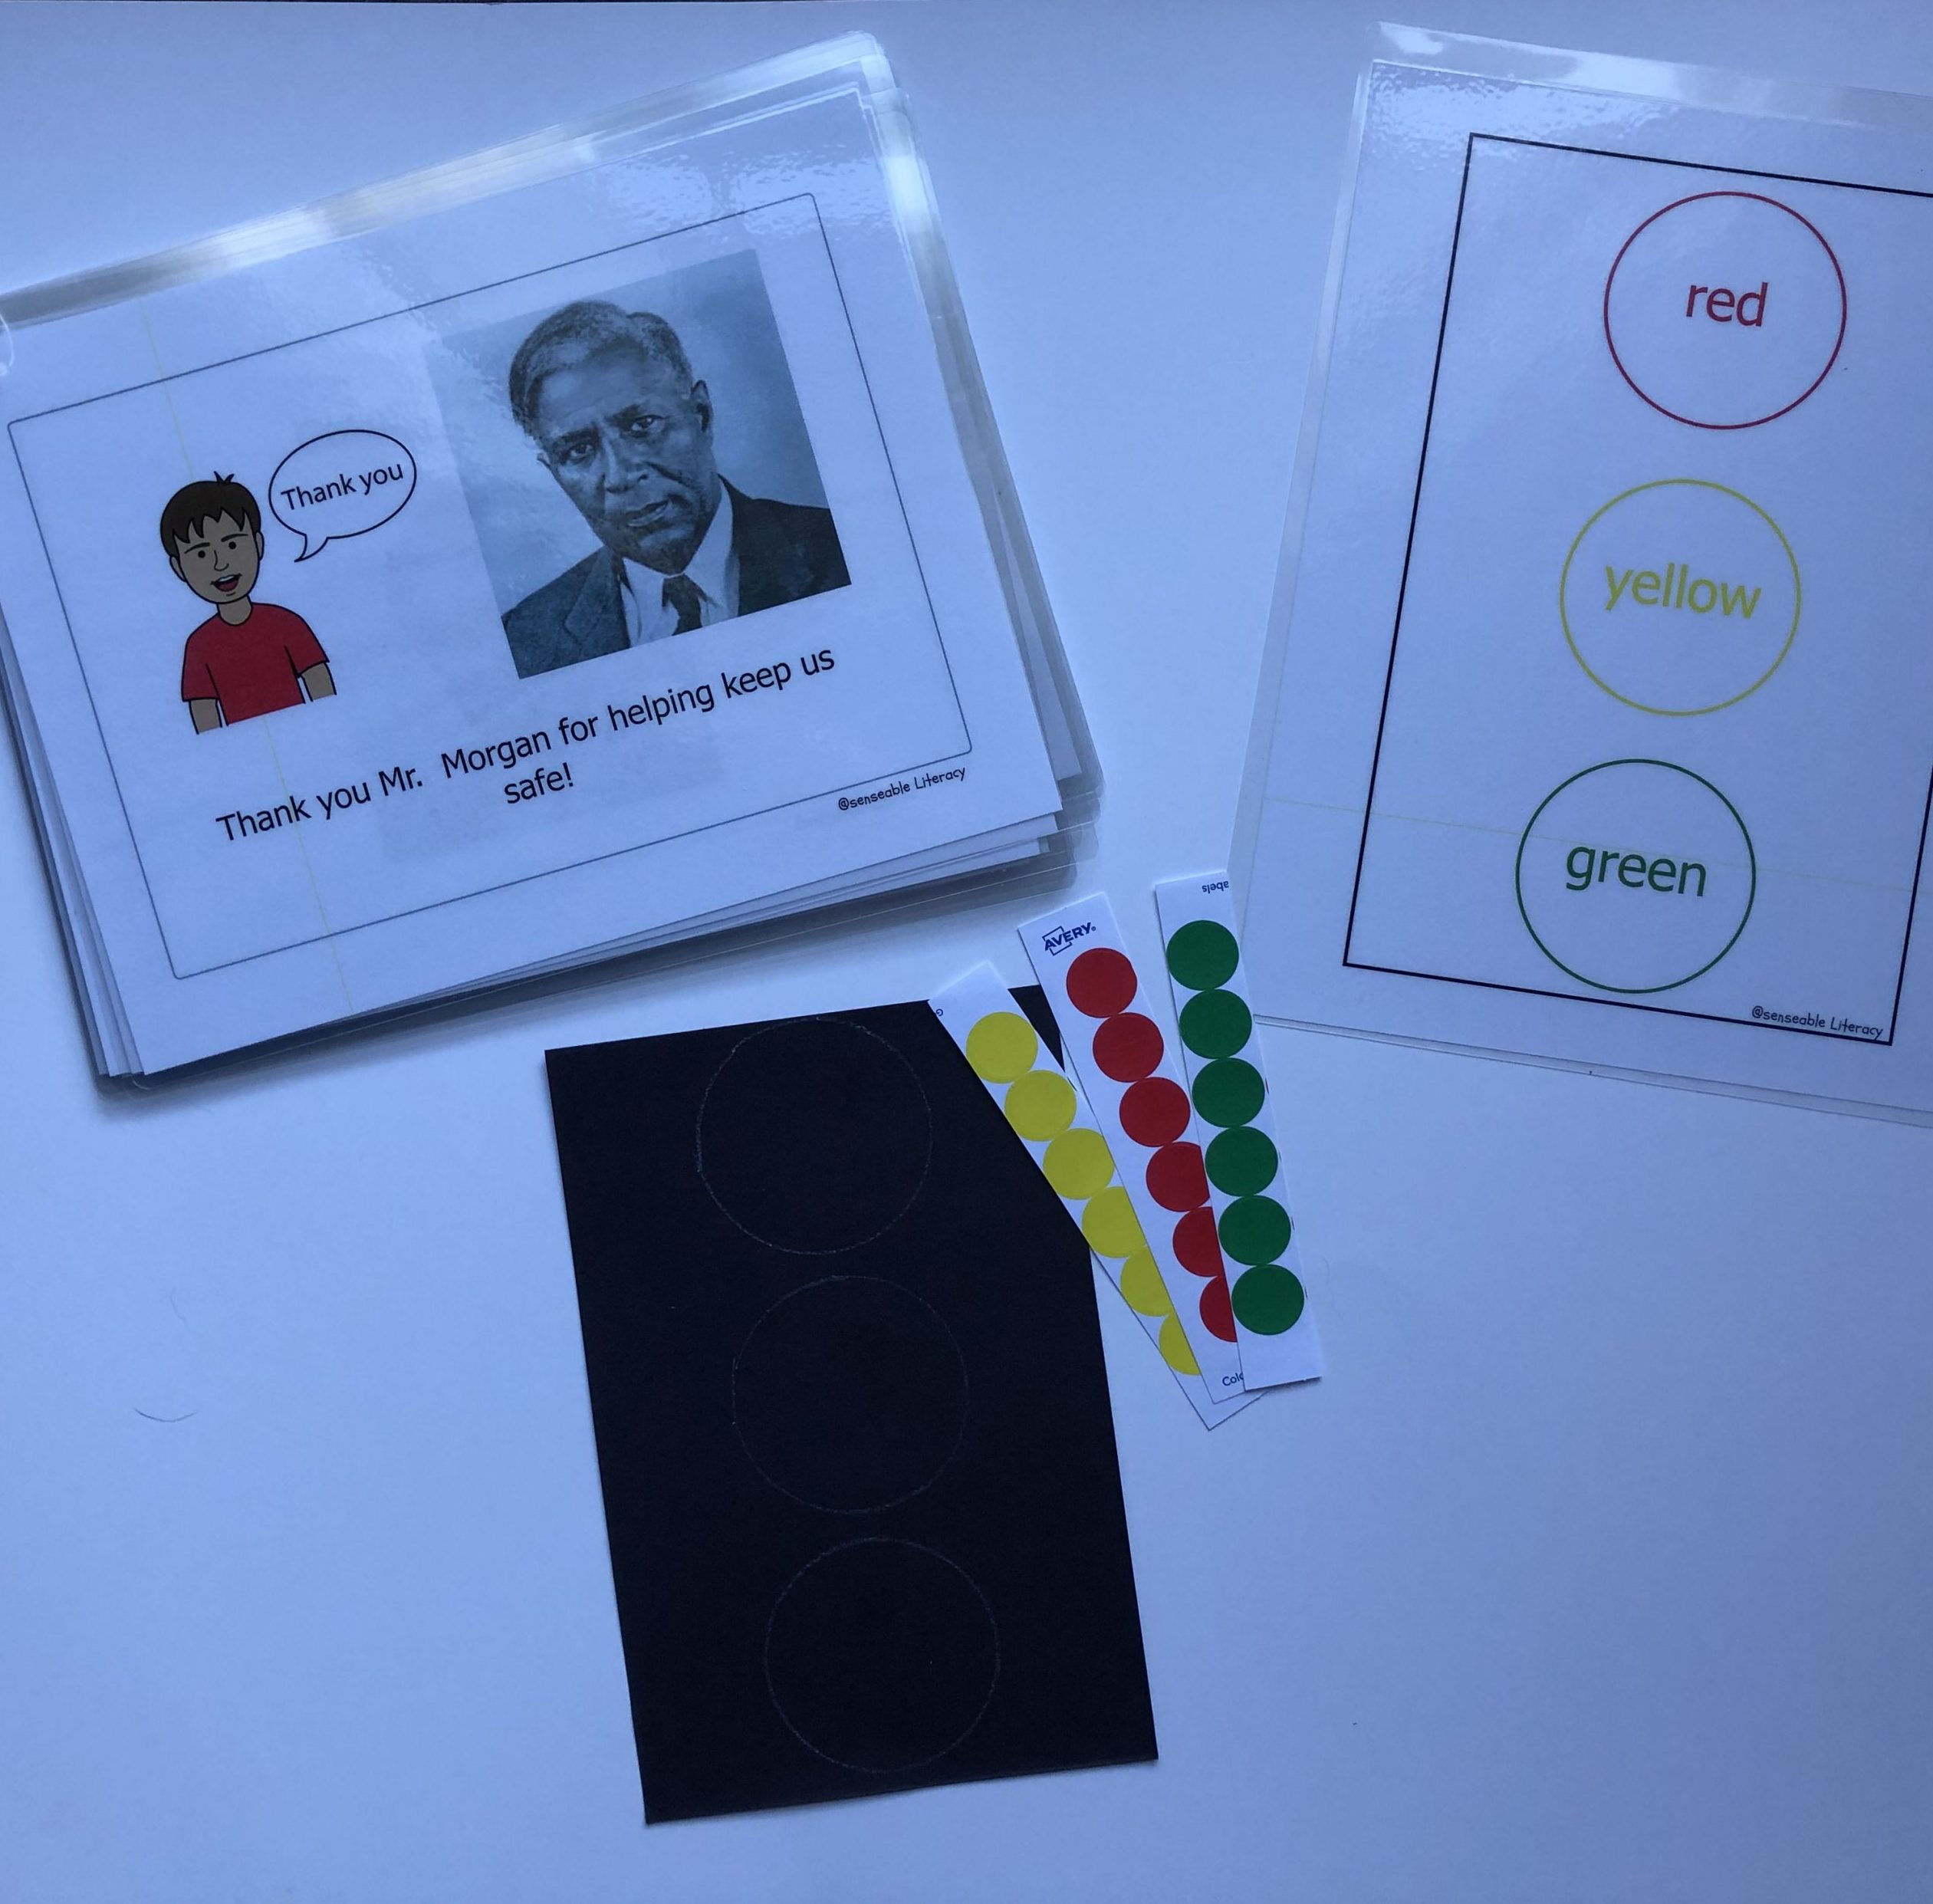
First, I cut black construction paper into rectangles and drew 3 circles down the center with a white crayon.
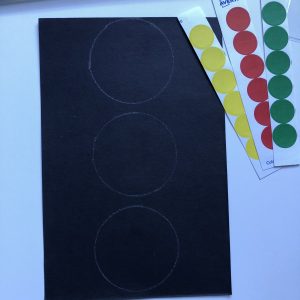
Stoplight template and stickers
Second, I cut color coding stickers from Avery into strips of yellow, green and red.
Each student was given a stoplight template and, after a model from an adult, placed all of the colored stickers onto their stoplight template. Hopefully the students placed the stickers in the right place based on color, but if not, that’s ok too – I am all about fostering independence and creativity and this is not a test!

Student Created Stoplght
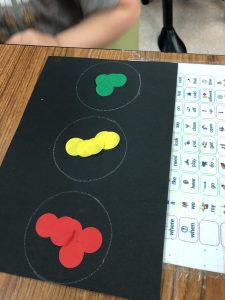
Student Created Stoplight
Additional Skills Addressed While Creating the Stoplights
While the students were making their stoplights, we were able to focus in on the topics of:
- Colors
- Shapes
- Location words (prepositions)
- Quantity (numbers, more, less)
Don’t forget all the Core Vocabulary!
And of course we used our core vocabulary communication boards to chat, modeling words, individually and in short phrases, such as:
- Put
- On
- More
- Where
- Help
- Want
- Like
- Not
- Different
- I
- My
- You
- Finished
- Here
- That
- Again
- Next
- See
- All
The Fun Doesn’t Stop There!
After students finish their stoplight you can:
- Help them write their name on their paper and send home to share with families.
- Laminate their stoplight to use in additional extension activities such as sorting by color.
- Use this sorting template to find items that are red, yellow and/or green in their environment.
- Watch some fun “stoplight videos” such as:
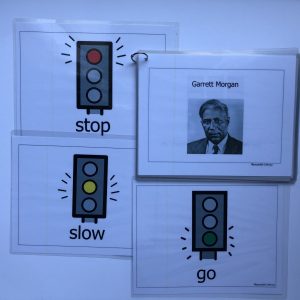
- Play “Red Light, Yellow Light, Green Light” to help get the wiggles out. You can use these visuals to further show students if they are to “GO”, “SLOW” or “STOP”.
- Play with cars and other vehicles, using your traffic light to tell the cars to “GO”, “SLOW down” or “STOP”
This Sounds Great! Where Can I Find These Resources?
If you are interested in doing these activities and/or reading the book about Garrett Morgan to your students I have linked them here for you to download:

Garrett Morgan book and activities
Garrett Morgan Printable and activities
If you create stoplights in celebration of Garrett Morgan and his invention, I’d love to see it!
Post pictures in the comments below or tag me (@senseableliteracy) in posts online!
Until next time – Happy Reading!


Recent Comments